Got the house put together and the wallpaper up in time for her birthday in October though it took me until now to get the pictures up. Here they are. For wallpaper I used scrapbooking paper and tape. I picked up the scrapbook paper on sale at Michael's and Joanne's (mostly at Michaels) for about 20 cents a sheet.
Here's the construction of the house. We got the shelving unit for $25 at Big Lots. It's a single unit and those two pieces are meant to go on top of each other. That presented a problem because we wanted it to be 2 pieces, so we took an old blond shelf we had laying around and drilled holes and screwed it to the bottom of the half without a bottom shelf. Worked great and gave that taller shelf real stability. If you go the shelving unit route, make sure it's tall enough for Barbie's to sand up in with some clearance. I didn't have a tape measure with me in the store, but they also sold Barbies so I ran over and grabbed one from the Barbie isle and measured it against the display shelf they had set up. It was a good fit and gave Barbie some clearance overhead too inside each shelf room.
Here's Barbie's outer downstairs deck and yard, though she uses the deck to park her Barbie Jeep most of the time.

Barbie also has an upstairs deck as seen in the full picture of the completed house. Unfortunately you can also see our messy craft room.
Here's the downstairs of the taller portion which has the kitchen and living room.
Kitchen with our hand made fridge (tutorial still comming on that one):
And the sparse living room. No couch as of yet.
Second level of the taller portion. Adult bedroom with our homemade furniture and bedding.
Third story of the taller portion. Girl's room. I call it the 'cherry' room because of the colors and how bright and fun it is. Most of the furniture in here is home made.
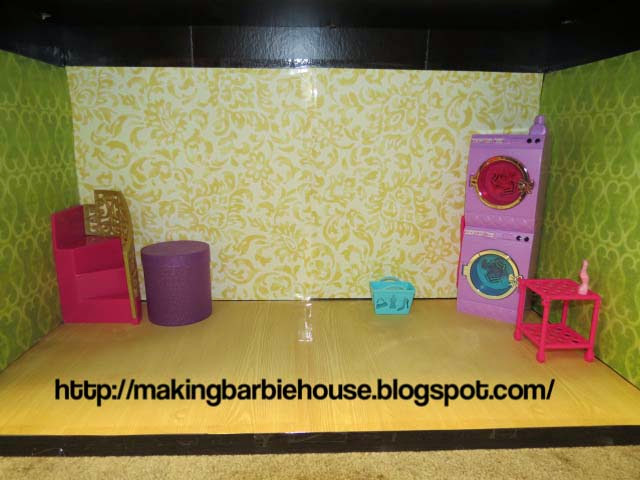
Downstairs of the smaller portion which is a laundry room/misc whatever she makes it room.
Upstairs of the smaller portion which is the bathroom and boy's room with home made furniture. I really love how that bed turned out.
Maybe I'm crazy but I love this paper.
And finally, here it is in her room on her birthday with other toys already trying to crowd it out. It was well worth making this for her though, she plays with it almost every day, though recently her 12 inch spiderman doll has taken up residence there and she's turned the rest of her Barbies into 'the Avenger's who now live there also. That's ok, it's versatile :) As for storage, that footstool looking thing on the left has a lid that lifts off and holds the rest of her misc Barbies, their clothes and other bedding and accessories so we keep the Barbie house pretty clean, and when she plays with the house, she sits on the stool.


How long did it take you to complete?
ReplyDeletePutting the shelving unit together took about 30 minutes. Putting the scrapbook paper up in the shelving unit took about an hour and a half over two days mostly because it took some precision taping to make it look nice. So total time for just the house was about 2 hours. The furniture is another story. I probably put 4 hours into making the furniture, bedding, pillows, etc. And then there was another 2-3 hours searching out all the supplies in the stores and buying them. So total time for everything altogether including house, furniture, and buying time, was 8-9 hours over the course of a few weeks. I hope this helps.
Delete